How To Optimize Images For The Web

Don’t you love images?
They can transform a piece of text into an engaging experience while you read. Images enhance a blog post, make it more sharable and set the tone and brand of your entire site.
And you know what? We are hardwired to respond to images. That’s why incorporating imagery into your content is a powerful tool to use when marketing your blog.
But, if you’re not careful, images can account for over half (or more) of your web page’s total size. Just a few years ago, the average size of a web page was 600–700K. Now, the average is 2MB and it’s increasing every year.
That’s huge!
The main reason this is happening is because multiple images are being used more frequently on web pages, and these images aren’t properly sized and optimized. This means they aren’t saved or compiled in a web-friendly way, and instead, are bloating your pages.
Most of us, though, leave optimizing images as an afterthought and would rather enjoy doing the fun stuff like crafting an epic post or networking with other bloggers in your niche.
But, having page bloat means your page loading speed is affected. You may not think this is a big deal if you’re on a high-speed connection, but many of your visitors are not. Also, Google doesn’t like slow loading pages, and it can negatively affect your SEO.
Why you need to optimize images
You work hard at creating stellar content and you spend countless hours promoting your blog and networking with other bloggers, so the last thing you want is for potential visitors to abandon your website before it even loads!
Studies show that up to 40% of visitors click the back button if a site takes longer than three seconds to load.
I know, three seconds really isn’t that long, but when you’re on a mobile connection and you’re waiting for a site to load, a second can seem like forever.
And since a lot of your visitors may be on slower mobile connections, it becomes clear – you need to get your page size down. And we already know what the largest offender of page size bloat is – it’s your images.
Unnecessarily large images also take up space on your hosting account. While some of you may have hosting with “unlimited” storage space, many premium hosting providers limit you to around 10GB of storage on lower-tier plans. This can fill up quickly, especially if you’re hosting multiple, image-heavy sites on the same account.
So, how can you tell if your images are slowing your site down? Test your site’s speed with Google PageSpeed Insights.
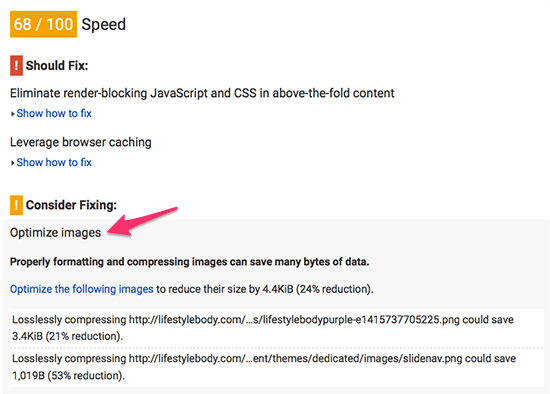
If Google reports unoptimized images as a problem, here’s what you need to know to fix it.
Image optimization basics
When it comes to optimizing images on your blog, there are a few different things you need to be aware of: file type, image size and dimensions, how you serve your images, and image compression.
Let’s take a closer look at each of these areas.
File type
Images on the web are usually saved in the PNG or JPEG file format – or GIF for animation. Who doesn’t love those hilarious animated GIFs floating around the web!
Now it’s technically okay if you save your images in either format – your visitor’s browser will have no trouble displaying your web page – but for the best quality and optimization, stick to the following rules:
- JPEG – use for photographs and designs where people, places or things are featured
- PNG – best for graphics, logos, text-heavy designs, screenshots, and when you need images with transparent backgrounds
- GIF – if you need animation, otherwise use PNG
So, why are there different formats?
Well, PNG is traditionally used for saving logos and graphics because it preserves the original image quality – nobody wants blurry text and pixelated shapes. But, if you try saving a photo as a PNG, it will look amazing, but the resulting file size will be, less-than-amazing.
JPEG is traditionally used for saving photos. Some of the image data is thrown away in order to create a drastically smaller file size, but since photos contain a wide variety of colors and natural variations, the loss in quality is usually unnoticeable to the human eye.
We’ll go into more detail about compression later on, but for now if you only remember two things, remember: JPEG for photos and PNG for text/graphics.
Image dimensions
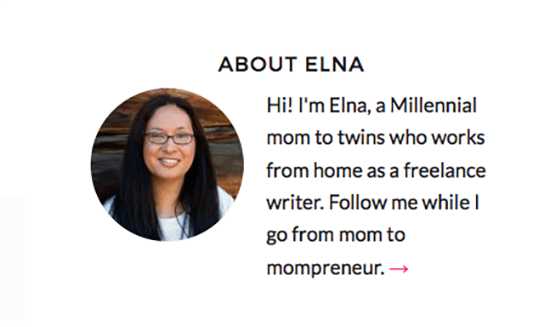
Have you ever loaded up a web page and noticed that a tiny picture (maybe a headshot, for example) takes f-o-r-e-v-e-r to download? Like, so slow you can see each line coming in? You think to yourself, how can such a small image take so long to download?
And when it happens to a big header image, it’s even worse because it can stall the whole page load.
The reason this is happening is because the blogger hasn’t properly resized and optimized their image, and in the case of our headshot example, might have uploaded a full-resolution JPEG directly from his or her DSLR camera.
And that’s a huge file!
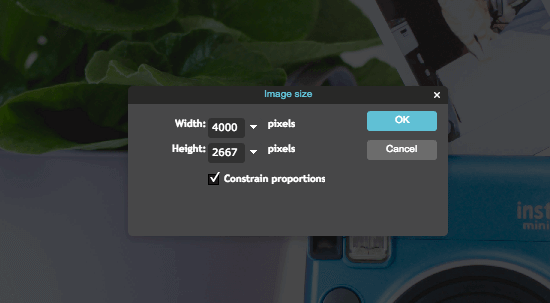
You see, a web browser will (usually) scale an image from its original dimensions so that it fits nicely in its place on a web page. What appears to be a small image onscreen could really be a huge 10-megapixel photo, scaled down in real time by the browser.
Now some web publishing platforms will automatically create multiple variations of your full resolution image in different sizes, but if not, you should resize your images beforehand in an image editor like Photoshop, Lightroom, Pixlr – or even MS Paint. It can mean the difference between a 50K file and 5MB one.
WordPress, for example, will automatically create three (or more, depending on your theme) copies of your uploaded image – all with different dimensions – that you can use in blog posts, rather than always using the full-sized image.

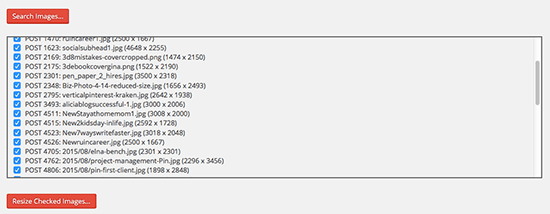
If you’re in the habit of uploading huge stock photo images, and want to save space in your hosting account, the WordPress plugin Imsanity has your back.
It resizes and replaces the original image to something more manageable, so even if you insert the full-sized image into your post, it won’t be so bad.
Once activated, Imsanity can also search your existing images and resize accordingly.
Serving your images
How you serve your images to your visitors isn’t strictly about optimizing them per se, but it can have a dramatic impact on your page load time.
Most bloggers serve their images straight from their hosting account and that’s usually fine, but if you’re really looking to squeeze every bit of performance out of your site, then hosting your images on a Content Delivery Network (CDN) can make a big difference.
A CDN consists of strategically placed web servers located in data centers all over the world. These servers host duplicate copies of your images and when a visitor’s browser requests an image from your website, the CDN automatically directs the browser to a server that’s geographically the closest to them.
This means visitors from Europe, for example, will receive images served from a local European server, rather than one from the States or elsewhere. Since response time and network latency is reduced, the images download much faster, reducing page load time.
Blogging Wizard uses Sucuri (it includes a Firewall for security as well as a CDN), but there are other quality providers like Amazon’s Cloudfront or KeyCDN. Even the popular CloudFlare, which isn’t strictly a CDN, offers a CDN for free and is easy to set up in most shared hosting packages.
Image compression
When it comes to optimizing your images, nothing reduces your file size more than advanced lossy image compression.
Most image editing tools like Visme or Photoshop will save files using lossy JPEG compression since it has the best file size reductions. So, while the image quality is slightly reduced, using lossy image compression reduces huge images to web-friendly sizes.
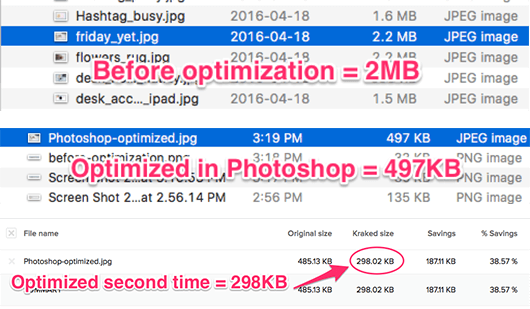
I’m sure many who use Photoshop might view its Save for Web feature as the be-all and end-all of image optimization. And even online image editing tools like PicMonkey or Visme optimize your images too.
But did you know there are tools that can take your “optimized” image from Photoshop or other editing tools, crunch and compress it by another 40% (or more), and still have it appear nearly identical to the human eye?
Here are some free and paid tools to help you crunch your images down to web-friendly status.
Desktop tools
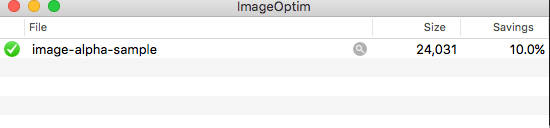
ImageAlpha / ImageOptim
For the Mac user, ImageOptim is a free desktop tool that I use every day to optimize PNG images – mostly screenshots – before I upload them. These tools are easy to use, you just drag and drop your files, but you have to do one image at a time.
Pro tip: For the tech-savvy there is ImageOptim–CLI, where you can optimize a whole folder of images at once.
ImageAlpha is a lossy PNG compressor and can do wonders on shrinking PNG files while ImageOptim performs advanced lossless (with the option of lossy) compression – and it strips unnecessary metadata from PNG, JPEG and GIF files.
For my PNG images, I first run them through ImageAlpha:
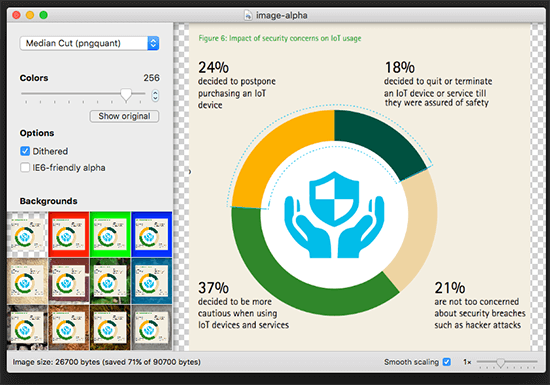
Here, it reduced my screenshot image from 103K to 28K.
I then ran it through ImageOptim and saved an extra 10%.
JPEGmini
For my JPEG files, I optimize them with the desktop JPEGmini app, available for both Mac and Windows.
The Lite version allows you to optimize up to 20 images a day for free, and costs $19.99 to remove the limit.
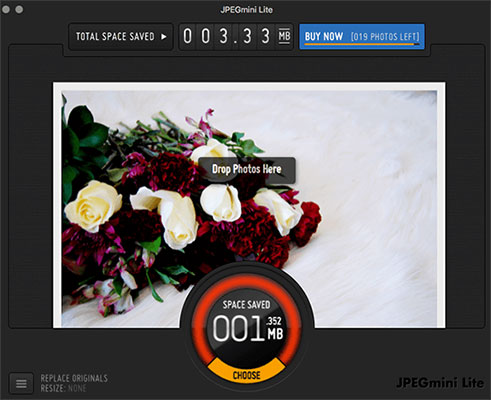
Pro tip: Advanced users wanting to integrate JPEGmini into Photoshop or Lightroom by way of a plugin can buy the Pro version for $99.99.
Online / Cloud / SaaS tools
TinyPNG

If you’re looking for a high-quality online image compression tool, TinyPNG (it optimizes JPEG files too despite the name) is a web app that allows you to drag up to 20 5MB or smaller images into your browser, and have them optimized all at once.
They also have a developer API and make a WordPress plugin available that can automatically optimize your images upon upload.
TinyPNG gives you 500 free image optimizations per month, and after that charges from $0.002–0.009 per image, depending on volume.
Now 500 images per month may sound like a lot, but when you consider the fact WordPress often creates three to five variations of each image in different sizes, 500 images doesn’t seem like that many for the prolific blogger. Luckily, the per-image cost is budget friendly.
EWWW Image Optimizer
If you’re not ready to spend money, and you don’t want to be bothered with optimizing your images manually, the free EWWW Image Optimizer plugin for WordPress can automatically optimize your uploaded images.
You can opt for a premium subscription that performs lossy compression, but the free version only performs lossless compression so the savings aren’t nearly as substantial. It will save you time and is better than nothing, though.
Note: For a complete rundown, check out our post on image compression tools.
Wrapping it up
With some people predicting the average web page size to approach 3MB by 2017, now is the time to start optimizing your images.
Remember, not all of your visitors will be on high-speed connections, and page bloat and slow page loading times can potentially affect your ranking with Google. To help you lighten the load, so to speak, get in the habit of optimizing your images today.
Pay attention to your image dimensions and resize any overly large stock photos or images from a digital camera down to an appropriate size.
Next, take advantage of modern image compression with desktop apps like JPEGmini, or cloud tools like TinyPNG or Kraken – integrating them into WordPress with a plugin if possible.
Lastly, if your publishing platform automatically creates resized variations of your original image, choose one of these for your blog post, rather than the original, full-sized one.
Related Reading: 7 Ways To Reduce The Size Of PDF Files.
Disclosure: Our content is reader-supported. If you click on certain links we may make a commission.